Chocolate Covered Candy Apples
Highlighted under: Modern Cooking
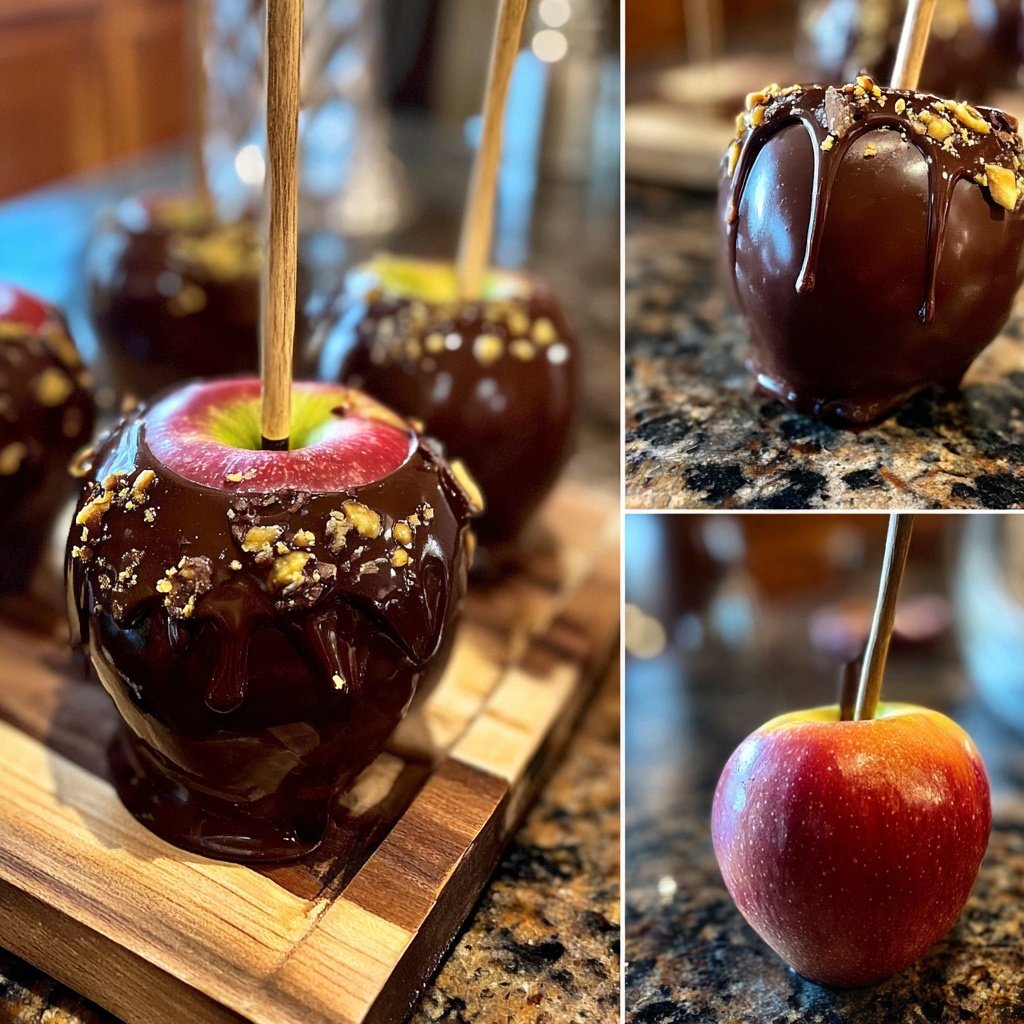
When I first tried making chocolate covered candy apples, I was excited to blend two timeless treats into one. The idea of combining the sweetness of candy-coated apples with rich chocolate intrigued me. As I experimented, I realized how simple the process could be, yet the results were incredibly satisfying. The contrast between the crispy candy shell and the smooth chocolate, alongside the tartness of the apples, created a delightful flavor explosion. I couldn’t wait to share these with friends and family for a fun dessert party experience!
Creating chocolate covered candy apples has become a new family tradition for us. During one of our weekend cooking sessions, we decided to gather all the ingredients and dive in. What surprised me was how versatile the recipe is; you can customize with different toppings like nuts, sprinkles, or even drizzle extra chocolate on top. I realized that adjusting the melting chocolate's temperature is crucial—too hot, and it won’t set; too cool, and it won’t coat well!
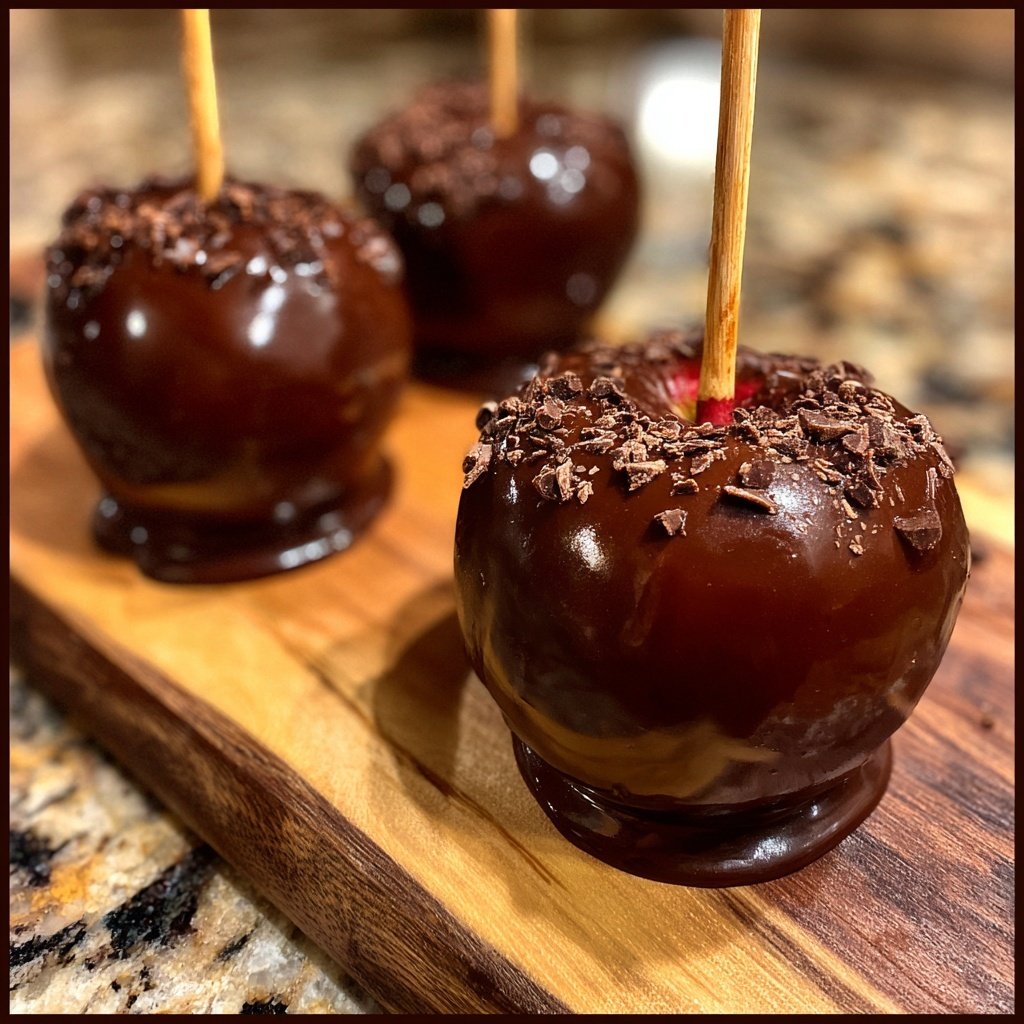
Each time we make these delicious treats, I love trying new flavor combinations. Recently, we added a sprinkle of sea salt on our chocolate-covered apples, which balanced the sweetness perfectly. These little touches make a significant difference. Every bite is a wonderful blend of textures and flavors, and it never fails to impress those who try them!
Why You'll Love This Recipe
- Decadent chocolate enveloping crisp, juicy apples
- Endless topping combinations to personalize your treats
- Great activity for family and friends to enjoy together
Choosing the Right Apples
When selecting apples for chocolate-covered candy apples, the variety can significantly affect both flavor and texture. I recommend using Granny Smith apples due to their tartness and crisp texture, which contrasts beautifully with the sweetness of chocolate and candy coating. However, if you prefer a sweeter option, Honeycrisp apples are also a great choice. Just ensure any apples you choose are firm, as this will help them hold up against the melting chocolate.
It's essential to thoroughly wash your apples to remove any pesticides and wax coatings. This step not only ensures that your treats are clean but also helps the chocolate adhere better. For a better grip, particularly when inserting sticks, make sure the apples are completely dry after washing; any moisture can prevent an even coating.
Mastering Chocolate Melting Techniques
To melt the chocolate successfully, I recommend using a microwave-safe bowl and heating the chocolate chips in 30-second intervals. Stirring after each interval is critical, as it helps distribute heat evenly and avoids burning the chocolate. Ideally, you want your chocolate to reach a smooth, glossy consistency without any lumps. If it starts to thicken too much, a teaspoon of vegetable oil can be added to regain a fluid texture.
Another option for melting chocolate is using a double boiler, which allows for a gentler heat. Simply fill a pot with a couple of inches of water, bringing it to a simmer, and place a heat-resistant bowl with the chocolate on top. This method ensures you have more control over the temperature, reducing the risk of seizing the chocolate.
Creating Unique Flavor Combinations
One of the most exciting aspects of making chocolate-covered candy apples is the endless topping combinations available. After rolling in chocolate, consider creating a themed apple by using toppings like crushed Oreos, colorful sprinkles, or crushed peppermint candies. If you're aiming for a more gourmet approach, try drizzling with caramel sauce before adding nuts, or incorporating sea salt for a sweet and salty flavor that's incredibly satisfying.
You can also experiment with different flavor profiles by using flavored candy melts or infusing your chocolate with extracts such as orange or almond. This adds an unexpected twist to your apples, making them even more delightful. Should you have any toppings leftover, store them in an airtight container for your next candy-making adventure; they can easily be repurposed for cookies or cupcakes!
Ingredients
For the Chocolate Covered Candy Apples
- 8 medium apples (Granny Smith or your choice)
- 2 cups semi-sweet chocolate chips
- 1 cup candy melts (various colors optional)
- 1 cup assorted toppings (chopped nuts, sprinkles, etc.)
- 8 wooden sticks or skewers
Feel free to customize your toppings!
Instructions
Prepare the Apples
Wash and dry the apples thoroughly. Remove any wax by rinsing them in warm water. Insert a wooden stick into the top of each apple.
Melt the Chocolate
In a microwave-safe bowl, heat the semi-sweet chocolate chips in 30-second intervals, stirring between each until completely smooth.
Coat the Apples
Dip each apple into the melted chocolate, covering it evenly. Allow the excess to drip off, then place it on a parchment-lined baking sheet.
Add Candy Coating (Optional)
If using candy melts, melt them separately and drizzle over the chocolate-coated apples or roll them in the melted candy for a colorful finish.
Top with Toppings
While the chocolate is still soft, roll the apples in your choice of toppings to add extra flavor and crunch.
Let Set
Allow the apples to sit at room temperature for about 10 minutes or until the chocolate is fully hardened.
Enjoy your homemade chocolate-covered candy apples!
Pro Tips
- For the best results, ensure your apples are completely dry before dipping them into chocolate. The chocolate will adhere better, leading to a cleaner finish.
Storing and Serving Your Candy Apples
Once your chocolate-covered candy apples are set, they can be stored at room temperature for up to 3 days. However, if you live in a warmer climate, consider placing them in the refrigerator to prolong their freshness. Just keep in mind that refrigeration can cause condensation, so it's best to let them sit at room temperature for a bit before serving to restore their original texture and prevent a soggy shell.
For presentation, you can serve the apples on a decorative platter. Consider placing them upright in a small container of rice or a foam block to keep them secure and prevent tipping. This way, everyone can grab their favorite apple easily during gatherings or parties.
Troubleshooting Common Issues
If you find that the chocolate coating isn’t adhering well to the apple, it might be due to a layer of wax on the apples, or they might still be too wet. Always ensure that they are completely dry and consider repeating the wash with warm water to help remove any stubborn wax. After washing, allow them to dry completely before dipping into chocolate to ensure a perfect coating.
In some cases, the chocolate can seize up during melting, becoming thick and unusable. This can happen if any water gets into the chocolate or if it's overheated. If you encounter this, try adding a small amount of coconut oil or shortening to the mixture while stirring to restore consistency. This can save your chocolate from the trash and allow you to continue creating your candy apples.
Variations for Seasonal Treats
As seasons change, so can the flavors of your chocolate-covered candy apples. For fall, consider rolling your apples in crushed candy corn or drizzling them with orange and brown colored melts. During winter holidays, festive toppings like crushed nuts and white chocolate drizzle can create beautiful treats that are perfect for celebrations.
To make your candy apples even more enticing, consider infusing the chocolate with spices such as cinnamon or nutmeg for a seasonal twist. This not only enhances the flavor but also adds a festive touch that your guests will appreciate. These variations can make your candy apples a year-round favorite with a simple adaptation of toppings and flavors.
Questions About Recipes
→ Can I use different types of chocolate?
Absolutely! You can use white chocolate, dark chocolate, or even flavored melts to suit your taste.
→ How can I store leftover candy apples?
Store them in an airtight container in a cool place. They’re best enjoyed within a few days.
→ Can I make these apples in advance?
Yes, you can prepare the chocolate-covered apples a day ahead. Just keep them cool to maintain their freshness.
→ What other toppings can I use?
The possibilities are endless! Try crushed cookies, coconut flakes, dried fruit, or even drizzle with caramel.
Chocolate Covered Candy Apples
What You'll Need
For the Chocolate Covered Candy Apples
- 8 medium apples (Granny Smith or your choice)
- 2 cups semi-sweet chocolate chips
- 1 cup candy melts (various colors optional)
- 1 cup assorted toppings (chopped nuts, sprinkles, etc.)
- 8 wooden sticks or skewers
How-To Steps
Wash and dry the apples thoroughly. Remove any wax by rinsing them in warm water. Insert a wooden stick into the top of each apple.
In a microwave-safe bowl, heat the semi-sweet chocolate chips in 30-second intervals, stirring between each until completely smooth.
Dip each apple into the melted chocolate, covering it evenly. Allow the excess to drip off, then place it on a parchment-lined baking sheet.
If using candy melts, melt them separately and drizzle over the chocolate-coated apples or roll them in the melted candy for a colorful finish.
While the chocolate is still soft, roll the apples in your choice of toppings to add extra flavor and crunch.
Allow the apples to sit at room temperature for about 10 minutes or until the chocolate is fully hardened.
Extra Tips
- For the best results, ensure your apples are completely dry before dipping them into chocolate. The chocolate will adhere better, leading to a cleaner finish.
Nutritional Breakdown (Per Serving)
- Calories: 380 kcal
- Total Fat: 26g
- Saturated Fat: 15g
- Cholesterol: 195mg
- Sodium: 85mg
- Total Carbohydrates: 32g
- Dietary Fiber: 3g
- Sugars: 24g
- Protein: 6g