Classic Homemade Rice Pudding
Highlighted under: Modern Cooking
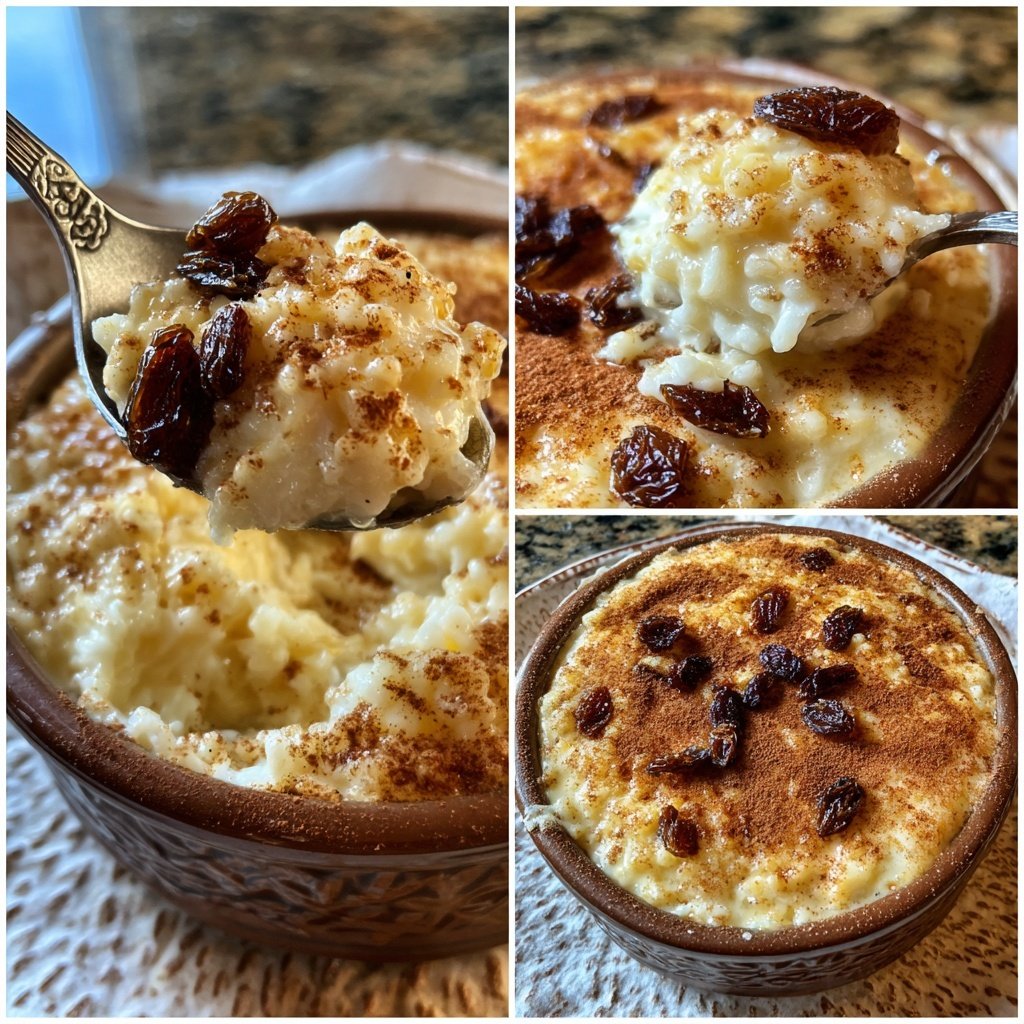
I absolutely adore making Classic Homemade Rice Pudding, especially when I want a comforting dessert that reminds me of my childhood. The creamy texture and subtle sweetness come together to create a dish that warms the heart. With just a few simple ingredients, I can whip up this classic in no time. Whether I enjoy it warm or chilled, this pudding always hits the spot. Plus, it’s a great way to use up leftover rice, making it both delicious and economical!
When I first tried making rice pudding, I was amazed at how easy it was to replicate that creamy dessert I enjoyed growing up. I remember my grandma stirring the pot on the stove, the aroma filling the kitchen. I decided to experiment a bit by adding vanilla and a sprinkle of nutmeg, which enhanced the flavor beautifully. Every bite reminds me of those cozy family dinners.
One specific detail that made a real difference in my version is how long I let the rice simmer. By cooking it gently and stirring frequently, I achieve that luscious, velvety texture that makes this pudding so irresistible. Trust me, it’s worth the wait!
Why You'll Love This Recipe
- Creamy and dreamy texture that delights every spoonful
- Rich vanilla flavor balanced with a hint of nutmeg
- A nostalgic treat that evokes warm memories of home
Perfecting the Texture
Achieving the ideal creamy texture for rice pudding is key to its overall success. As the rice simmers in the milk, it releases starch, thickening the mixture without needing cornstarch or flour. Make sure to regularly stir the pudding as it cooks to prevent the rice from sticking to the bottom of the saucepan and forming clumps. This gentle stirring technique allows the pudding to become smooth and velvety, giving each bite a delightful mouthfeel.
If you notice that the mixture is becoming too thick, you can adjust by adding a splash of milk while cooking. Conversely, if it remains too soupy, allow it to simmer a bit longer, stirring intensively to avoid scorching. The final texture should be reminiscent of a comforting custard—spoonable, yet with enough body so it doesn’t run off the plate.
Flavor Enhancement
The foundation of flavor in this rice pudding comes from the key ingredients—vanilla extract and nutmeg. I always opt for pure vanilla extract over imitation, as it delivers a more robust aroma and depth of flavor. Adding the nutmeg is optional, but I recommend it for those who enjoy a warm spice note that complements the sweetness. Just a pinch adds complexity without overpowering the dish.
For those looking to experiment, consider swapping in different flavorings like almond extract or even a splash of coconut milk for a tropical twist. You could also infuse the milk with citrus zest during the simmering process for a refreshing brightness. Just be sure to strain out the zest before mixing in the egg.
Storage and Serving Suggestions
If you prepare a larger batch of rice pudding, storing it correctly will help maintain its delightful consistency. After cooling, transfer it to an airtight container. It can be refrigerated for up to five days. When you're ready to enjoy it again, simply reheat in a saucepan over low heat, adding a splash of milk to restore creaminess.
Serving options can elevate this classic dessert even further. Top with fresh fruits like berries or a dollop of whipped cream. For an extra treat, consider adding a drizzle of caramel or a sprinkle of toasted coconut. Each of these toppings will enhance the flavor profile while adding a visual appeal that makes this pudding even more inviting.
Ingredients
Gather these simple ingredients to make your rice pudding:
Ingredients
- 1 cup cooked rice
- 2 cups whole milk
- 1/4 cup sugar
- 1/4 teaspoon salt
- 1/2 teaspoon vanilla extract
- 1/4 teaspoon nutmeg (optional)
- 1 egg, beaten
- Raisins or cinnamon (for garnish, optional)

Instructions
Follow these simple steps to create your homemade rice pudding:
Combine Ingredients
In a medium saucepan, combine the cooked rice, milk, sugar, and salt. Stir well and bring to a gentle boil over medium heat.
Simmer the Mixture
Once boiling, reduce the heat to low and let it simmer for about 20 minutes, stirring frequently to prevent sticking. The mixture should start thickening.
Add Flavors
Stir in the vanilla extract and nutmeg, if using. Slowly add the beaten egg, mixing continuously to incorporate it smoothly into the pudding.
Final Cooking
Continue to cook for an additional 5 minutes, stirring constantly until the pudding reaches your desired thickness.
Serve
Remove from heat and let it cool slightly before serving. You can enjoy it warm or refrigerate it for later. Garnish with raisins or a sprinkle of cinnamon if desired.
Pro Tips
- For an extra touch, try adding a splash of coconut milk for a tropical twist or top with fresh fruits for a refreshing addition!
Troubleshooting Common Issues
One common issue when making rice pudding is ending up with a watery consistency. If this happens, it may mean that the heat was too low during simmering or that it wasn’t cooked long enough. To fix it, simply continue simmering until thickened, stirring frequently. If you find it overly thick, incorporate more milk gradually until reaching your desired texture.
Another issue could be curdled egg, which often occurs if added too quickly. To prevent this, temper the egg by first mixing in a small amount of the hot pudding mixture, creating a gentle heat that prepares the egg for blending without scrambling. Then, slowly introduce this mixture back into the pot.
Variations to Explore
There are countless ways to personalize your rice pudding. Consider incorporating different mix-ins, such as chopped dried fruits like apricots or cranberries, for a burst of flavor. Alternatively, to make it an indulgent treat, add chocolate chips or a swirl of peanut butter before serving. This versatility allows you to enjoy a new version of this classic dessert each time you make it.
Tiered versions can also be fun—layer rice pudding with fruits or compotes in glasses for an eye-catching presentation. Furthermore, for a gluten-free dessert, ensure that the rice used is labeled gluten-free, which is often the case with common varieties of white or brown rice.
Questions About Recipes
→ Can I use different types of milk?
Yes, you can substitute whole milk with almond, coconut, or low-fat milk, but the flavor and creaminess may change.
→ How can I store leftovers?
Store any leftover rice pudding in an airtight container in the refrigerator for up to 3 days.
→ Can I freeze rice pudding?
While it's possible to freeze rice pudding, the texture may change upon thawing. It's best enjoyed fresh.
→ What can I add to enhance the flavor?
Adding raisins, a dash of cinnamon, or even some fresh fruit can elevate the flavor of your rice pudding!
Classic Homemade Rice Pudding
Created by: Saskia Morton
Recipe Type: Modern Cooking
Skill Level: Beginner
Final Quantity: 4 servings
What You'll Need
Ingredients
- 1 cup cooked rice
- 2 cups whole milk
- 1/4 cup sugar
- 1/4 teaspoon salt
- 1/2 teaspoon vanilla extract
- 1/4 teaspoon nutmeg (optional)
- 1 egg, beaten
- Raisins or cinnamon (for garnish, optional)
How-To Steps
In a medium saucepan, combine the cooked rice, milk, sugar, and salt. Stir well and bring to a gentle boil over medium heat.
Once boiling, reduce the heat to low and let it simmer for about 20 minutes, stirring frequently to prevent sticking. The mixture should start thickening.
Stir in the vanilla extract and nutmeg, if using. Slowly add the beaten egg, mixing continuously to incorporate it smoothly into the pudding.
Continue to cook for an additional 5 minutes, stirring constantly until the pudding reaches your desired thickness.
Remove from heat and let it cool slightly before serving. You can enjoy it warm or refrigerate it for later. Garnish with raisins or a sprinkle of cinnamon if desired.
Extra Tips
- For an extra touch, try adding a splash of coconut milk for a tropical twist or top with fresh fruits for a refreshing addition!
Nutritional Breakdown (Per Serving)
- Calories: 200 kcal
- Total Fat: 6g
- Saturated Fat: 3g
- Cholesterol: 90mg
- Sodium: 150mg
- Total Carbohydrates: 32g
- Dietary Fiber: 1g
- Sugars: 15g
- Protein: 5g