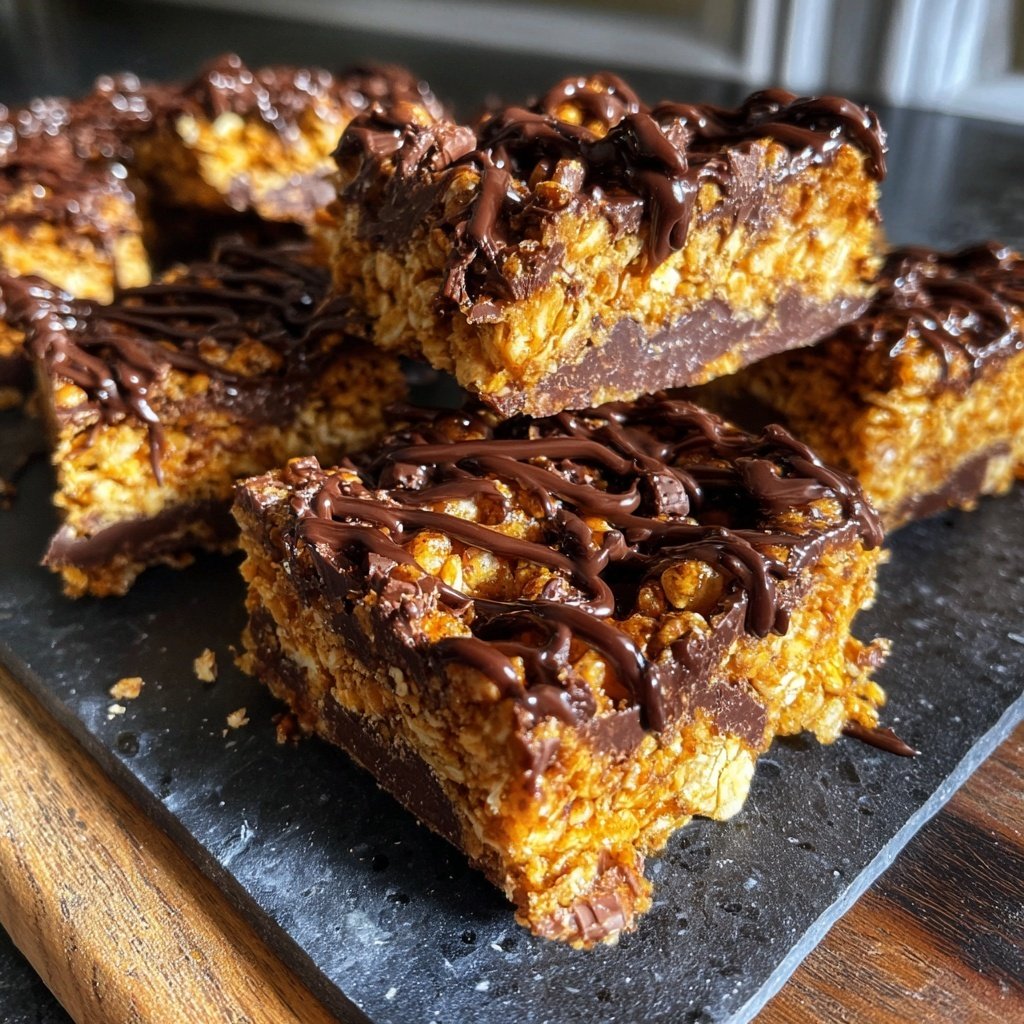
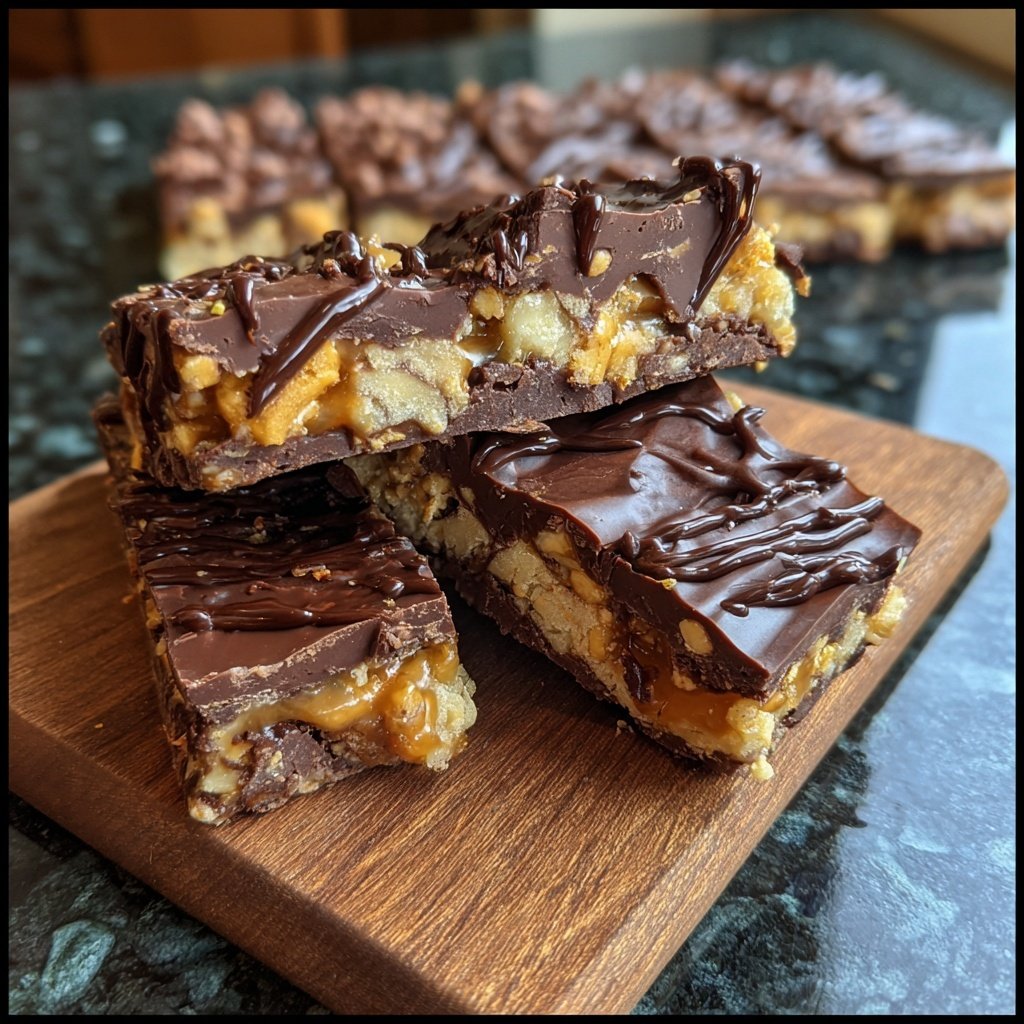
Chocolate Honeycomb Bars
Highlighted under: Modern Cooking
I absolutely love creating these Chocolate Honeycomb Bars in my kitchen! They combine the light, airy crunch of honeycomb with rich, melting chocolate for a delightful treat that never fails to impress. What I adore most is how simple the ingredients are while delivering a taste that feels luxurious and indulgent. Perfect for sharing at gatherings or enjoying as a personal indulgence, each bite reminds me of childhood sweets and makes for a fun kitchen adventure that I can't resist!
Making Chocolate Honeycomb Bars has become a cherished ritual for me. I remember the first time I tried making honeycomb as a child, the sheer magic of transforming simple sugar into something so airy fascinated me. I love watching the golden bubbles form and expand as I pour in the baking soda - it’s incredibly rewarding!
My favorite part? The way the chocolate coating enhances the crunch of the honeycomb beneath. If you're looking for that perfect balance of textures, I recommend tempering the chocolate to achieve a gorgeous shine and snap. Trust me, it elevates the whole experience!
Why You'll Love These Chocolate Honeycomb Bars
- Crunchy honeycomb texture that contrasts beautifully with the smooth chocolate
- Easy-to-follow recipe that delivers impressive results
- Perfect for gifting or as a delectable treat for any occasion
Understanding Honeycomb Texture
The magic of honeycomb bars lies in the distinct texture that the honeycomb provides. When preparing the honeycomb, the sugar and golden syrup create a syrup that, when boiled to the perfect temperature, achieves a light and airy structure thanks to the baking soda. It’s crucial to monitor the sugar closely until it reaches a deep amber color, as this not only gives the honeycomb its flavor but also affects its crispness. If overcooked, it can become hard and too brittle.
Allowing the honeycomb to cool completely is vital before breaking it into pieces. Patience during this step prevents it from becoming sticky again, ensuring a delightful crunch. I recommend letting it set for at least 30 minutes at room temperature before moving on to the chocolate coating, as this will help maintain the structural integrity of the pieces.
Choosing the Right Chocolate
For coating the honeycomb, using a combination of dark and milk chocolate strikes a perfect balance between richness and sweetness. The dark chocolate provides a deep flavor contrast, while the milk chocolate adds a creaminess that can enhance the overall taste. If you're a fan of white chocolate, feel free to swap it in, but be mindful that the flavor profile will shift more towards sweetness.
When melting the chocolate, ensure you do so gently to avoid seizing. Using a double boiler helps in maintaining a steady, low heat. If microwaving, opt for 20-30 second intervals and stir in between to achieve a smooth, glossy finish. This shiny exterior not only looks appealing but also creates a delicious snap when you bite into it.
Ingredients
Gather all the ingredients before you start to ensure a smooth preparation!
For the Honeycomb
- 250g granulated sugar
- 100ml golden syrup
- 1 tsp baking soda
For the Chocolate Coating
- 200g dark chocolate
- 50g milk chocolate
Make sure to let the honeycomb cool fully before cutting it for the best experience!
Instructions
Follow these steps carefully to create your delicious Chocolate Honeycomb Bars!
Prepare the Honeycomb
In a heavy-bottomed saucepan, combine the sugar and golden syrup over medium heat. Stir until the sugar dissolves, then increase the heat and bring it to a boil without stirring. Allow it to boil for 4-5 minutes until it reaches a deep amber color. Remove from heat and quickly stir in the baking soda. Watch as it bubbles and expands! Pour the mixture onto a lined baking tray and let it cool completely.
Melt the Chocolate
While the honeycomb is cooling, break the dark chocolate and milk chocolate into pieces and place them in a heatproof bowl. Melt them gently over a pot of simmering water, stirring until smooth. Alternatively, you can microwave them in short bursts, stirring in between.
Coat the Honeycomb
Once the honeycomb has cooled and hardened, break it into large pieces. Dip each piece into the melted chocolate, ensuring it's fully coated. Place them on a baking sheet lined with parchment paper and let the chocolate set. You can refrigerate them for faster setting!
Serve and Enjoy
Once the chocolate has hardened, your Chocolate Honeycomb Bars are ready! Serve them to friends, or keep them all to yourself. Enjoy the delightful crunch and chocolatey goodness!
Experiment with toppings or different types of chocolate for a personalized touch!
Pro Tips
- For an added flavor twist, consider adding a pinch of sea salt on top of the chocolate-coating before it sets to enhance the sweetness of the honeycomb.
Storage and Shelf Life
Chocolate Honeycomb Bars can be stored in an airtight container at room temperature for up to a week. Keeping them away from direct sunlight will help maintain their crispness. However, avoid refrigerating them unless necessary, as cold air can make the honeycomb lose its crunch and become chewy.
If you find yourself with leftovers, consider chopping them into smaller pieces to use as a topping for ice cream or yogurt. These bars add a decadent touch to desserts, enhancing both texture and flavor.
Possible Variations
Feel free to get creative with your Chocolate Honeycomb Bars! For a fun twist, you can add crushed nuts or dried fruits into the melted chocolate before coating the honeycomb pieces. This not only adds additional flavor but also varies the texture, making each bite unique.
For a spiced version, consider adding a pinch of sea salt or a sprinkle of cinnamon to the melted chocolate. This addition beautifully complements the sweetness of the honeycomb, and you'll find that it elevates the taste experience with every bite.
Questions About Recipes
→ Can I use different types of sugar for the honeycomb?
It's best to stick with granulated sugar for the best results as it ensures proper crystallization.
→ How do I store the Chocolate Honeycomb Bars?
Keep them in an airtight container at room temperature to maintain their crispness.
→ Can I add flavors like vanilla or citrus to the honeycomb?
Absolutely! Just a few drops of extract can add a delightful flavor to your finished bars.
→ What happens if my honeycomb is too hard?
If it's too hard, it may have been cooked for too long. Keep an eye on the boiling time next time to achieve the perfect crunch.
Chocolate Honeycomb Bars
What You'll Need
For the Honeycomb
- 250g granulated sugar
- 100ml golden syrup
- 1 tsp baking soda
For the Chocolate Coating
- 200g dark chocolate
- 50g milk chocolate
How-To Steps
In a heavy-bottomed saucepan, combine the sugar and golden syrup over medium heat. Stir until the sugar dissolves, then increase the heat and bring it to a boil without stirring. Allow it to boil for 4-5 minutes until it reaches a deep amber color. Remove from heat and quickly stir in the baking soda. Watch as it bubbles and expands! Pour the mixture onto a lined baking tray and let it cool completely.
While the honeycomb is cooling, break the dark chocolate and milk chocolate into pieces and place them in a heatproof bowl. Melt them gently over a pot of simmering water, stirring until smooth. Alternatively, you can microwave them in short bursts, stirring in between.
Once the honeycomb has cooled and hardened, break it into large pieces. Dip each piece into the melted chocolate, ensuring it's fully coated. Place them on a baking sheet lined with parchment paper and let the chocolate set. You can refrigerate them for faster setting!
Once the chocolate has hardened, your Chocolate Honeycomb Bars are ready! Serve them to friends, or keep them all to yourself. Enjoy the delightful crunch and chocolatey goodness!
Extra Tips
- For an added flavor twist, consider adding a pinch of sea salt on top of the chocolate-coating before it sets to enhance the sweetness of the honeycomb.
Nutritional Breakdown (Per Serving)
- Calories: 380 kcal
- Total Fat: 26g
- Saturated Fat: 15g
- Cholesterol: 195mg
- Sodium: 85mg
- Total Carbohydrates: 32g
- Dietary Fiber: 3g
- Sugars: 24g
- Protein: 6g